Welcome to The Home Plants! 🌿 In this post, we’ll dive into how to propagate Java Moss, one of the easiest and most rewarding projects for aquarium and paludarium enthusiasts.
Java Moss is a favorite for its adaptability and ease of growth, making it an excellent choice for both beginners and seasoned aquarists. The journey of Java Moss propagation not only brings life to your aquatic setups but also creates a natural, lush environment that your fish and critters will love.
What is Java Moss?
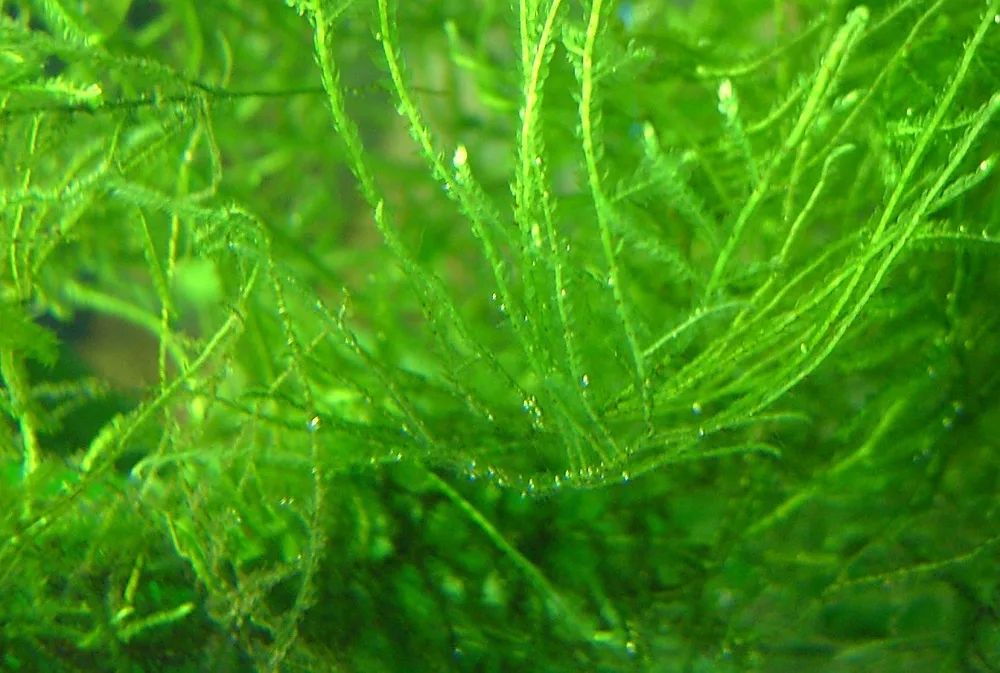
Java Moss (Taxiphyllum barbieri) is a hardy aquatic plant originating from Southeast Asia and is celebrated for its soft, lush texture and resilience.
Java Moss can thrive in a variety of water conditions, making it incredibly versatile for aquariums, paludariums, or even simple terrariums. Its dense, velvety look adds a touch of the wild to any aquatic setup, and it serves as a great hiding spot for small fish, shrimp, and other water creatures. Not only does Java Moss bring natural beauty, but it also improves water quality by filtering out toxins.
Gather Your Materials
Before getting started, let’s gather everything you’ll need. For this project, you’ll use minimal tools but achieve fantastic results. Here’s the list:
- Two Clear Plastic Food Trays: these will be your propagation containers, helping retain moisture while letting in light.
- Java Moss Cuttings: cut the Java Moss as finely as possible to create more surface area for growth.
- Plastic Pieces or Small Dividers: these will help insulate the moss from excess water, creating an ideal environment for growth.
- Spray Bottle: this will be used to mist the moss, keeping it moist.
- NPK Fertilizer (20-20-20): optional but can enhance growth; use around 1/4 teaspoon.
- Chelated Iron: helps with moss’s lush green color; use around 1/4 teaspoon with your fertilizer.
- Masking Tape: Label the trays to note which one has fertilizer and which one is water-only.
How to Propagate Java Moss for Aquariums and Paludariums
Step 1: Prepare the Trays and Insulation Layer
Take two clear plastic food trays and add a thin layer of plastic pieces or other small dividers. These help prevent excess water from accumulating at the bottom, keeping the moss layer just moist enough.
Step 2: Prepare the Moss
Using sharp, clean scissors, cut the Java Moss as finely as possible. The finer you cut the moss, the better it will spread and grow. Finely cut moss pieces have more surface area, encouraging faster propagation.
Step 3: Spread the Moss
Gently spread the moss over the insulated layer in each tray. Try to cover the entire surface of each tray evenly without clumping. This ensures that each part of the moss has equal exposure to moisture and light.
Step 4: Prepare and Add Fertilizer Solution
In a separate container, mix 1/4 teaspoon of NPK fertilizer (20-20-20) and 1/4 teaspoon of chelated iron in 1/2 liter of water. Label one tray “Fertilizer” using masking tape, and keep the other tray labeled “Water Only.” Spray the fertilizer solution on the “Fertilizer” tray once a week and keep the other tray misted with water only. This will help you compare results later on.
Step 5: Maintain Moisture
Use the spray bottle to mist both trays frequently, ensuring the moss remains damp. If the moss starts to dry out, increase misting to prevent it from going dormant. Consistent moisture is the key to successful propagation.
Step 6: Provide Indirect Light
Place both trays in a location with indirect light. Bright, direct sunlight can scorch the moss, so a spot with filtered sunlight or near a window works best. Moss grows slowly but steadily in shaded, indirect light.
How to Take Care of Java Moss
Java Moss is a low-maintenance plant, but a few care tips can make it thrive even more:
- Lighting: Java Moss prefers low to moderate light. Direct sunlight is too harsh, so opt for indirect or diffused light instead.
- Water: Regular misting is essential for keeping the moss moist, especially when grown outside of an aquarium.
- Temperature: Ideal growth occurs between 70°F and 75°F, but Java Moss can tolerate a broader range.
- Fertilization: Once established, Java Moss doesn’t need much fertilizer, but adding iron occasionally can enhance its vibrant green color.
- Trimming: To maintain a neat look, trim the moss periodically to keep it compact and bushy. Trimming also encourages healthier growth and prevents it from overtaking your aquarium or terrarium.
Conclusion
Java Moss propagation is a fun and rewarding DIY project that brings life to any aquatic setup. From aquariums to paludariums, this hardy moss is ideal for adding natural beauty and helping improve water quality.
Whether you’re a beginner or a seasoned plant enthusiast, watching your moss flourish will be incredibly satisfying. Try experimenting with different trays, light levels, and even fertilizers to see what works best for your setup. If you have more tips, experiences, or questions, feel free to share them in the comments below.
Enjoy your journey into the lush world of Java Moss!
Give it a try and let me know how it works for you! And don’t forget to subscribe to TheHomePlants YouTube channel for more easy, plant-saving DIY tips and tricks.

