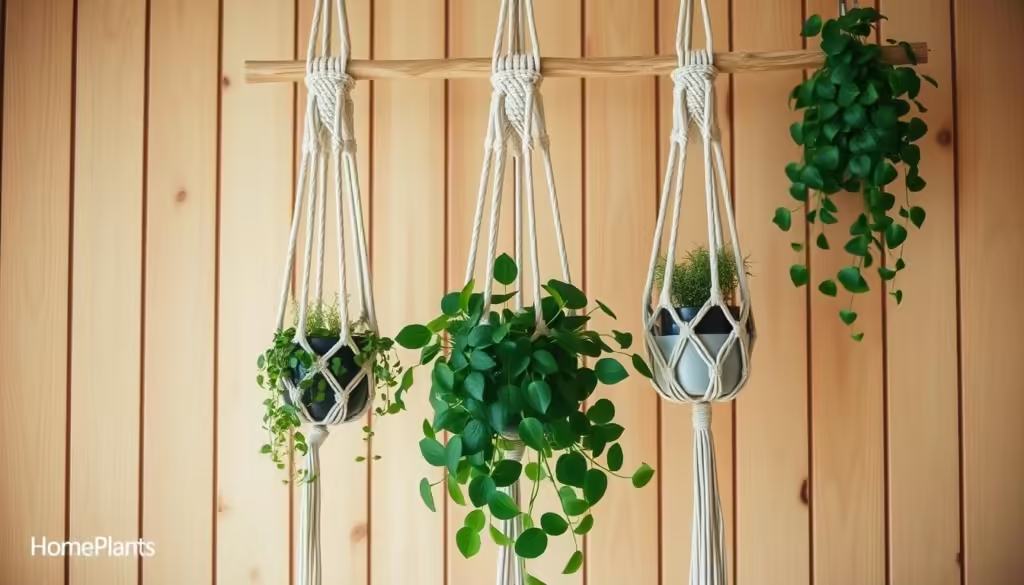
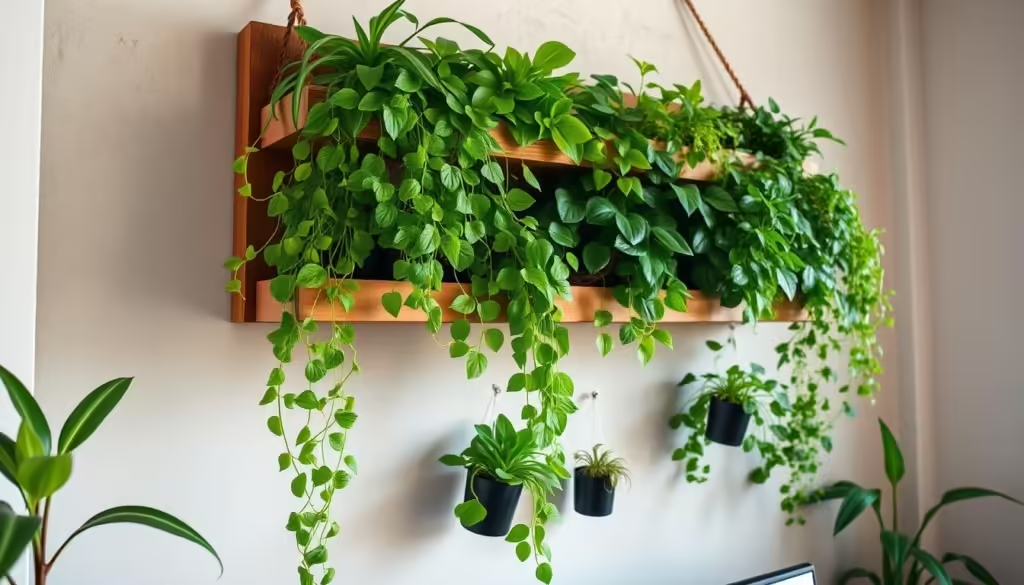
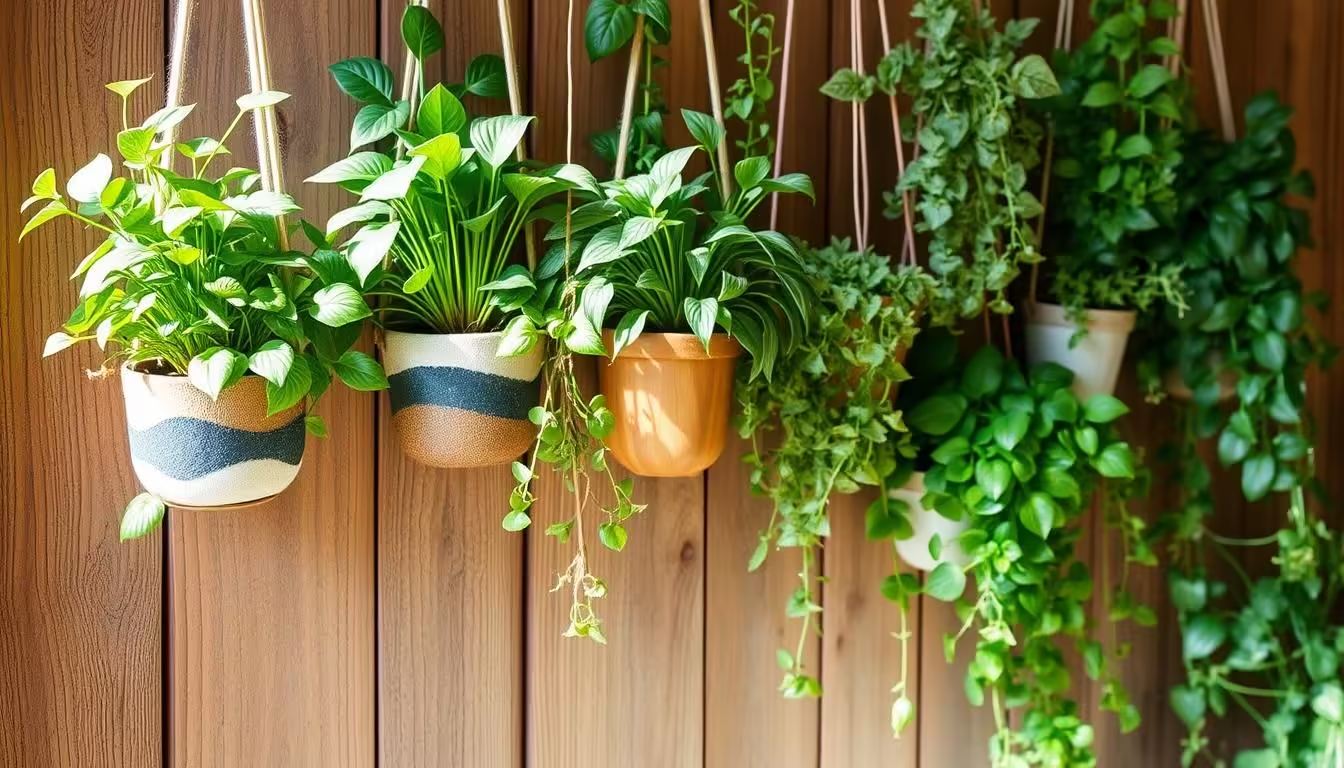
Imagine transforming your urban space into a lush oasis with a DIY hanging wall planter. Picture bringing nature indoors, creating a fresh, green haven without needing extra floor space. Visualize a stunning vertical garden, adding a touch of natural elegance to your home with a variety of herbs, succulents, and trailing plants.
With just a few tools and a little creativity, you can make your own blank wall come alive, crafting a space that not only looks beautiful but feels refreshing. A hanging wall planter could be just what you need to add that extra spark to your living space.
Key Takeaways
- DIY hanging wall planters offer a space-efficient way to grow a variety of plants, including herbs, succulents, and trailing plants.
- This project can be completed in about 15 minutes using common tools like a miter saw, cordless drill, and Kreg Jig.
- The materials needed include wood boards, waterproof plastic, burlap, screws, and garden soil.
- Vertical gardening provides environmental and aesthetic benefits, such as temperature regulation and transforming bare walls into lush, green spaces.
- Customizing the planter design and plant selection allows for personalized and creative expression.
Understanding the Benefits of Vertical Gardens
Vertical gardening is a smart choice for city folks and those with little outdoor space. It lets you use every inch of space, turning walls or balconies into green havens. These gardens are becoming more popular because of their many benefits.
Space-Saving Solutions for Urban Gardening
Vertical gardens save a lot of space. Plants grow up instead of out, making it possible to have a garden in tiny spots. You can grow plants that don’t need a lot of room, like those in containers.
Environmental and Aesthetic Advantages
Vertical gardens are not just pretty; they’re good for the planet too. They help clean the air, support wildlife, and even stop soil erosion and water runoff. Plus, using old stuff like pallets makes them eco-friendly.
Temperature Regulation Benefits
These gardens can also help control your home’s temperature. The plants and leaves act as natural insulation. This can make your home cooler in summer and warmer in winter, saving energy and making it more comfy.
Vertical gardening is a great way to make a small balcony or wall look amazing. It turns unused space into a lush, green oasis. This not only makes your place look better but also helps the environment.
“Vertical gardens allow you to grow a lush, vibrant oasis in even the most limited of spaces.”
Essential Tools and Materials Needed
To make your own DIY hanging wall planter, you’ll need some basic tools and materials. Start with a RYOBI 12″ sliding miter saw for cutting wood accurately. Use a RYOBI 18V cordless drill/driver to put the planter together. A Kreg Jig helps make strong pocket hole joints.
You’ll also need 1″x8″x8′ common boards and 1″x2″x8′ common boards. Don’t forget waterproof food-safe plastic, burlap, 1.5″ Kreg pocket hole screws, wood stain, and high-quality garden soil.
Other tools like a circular saw, level, and tape measure are useful. You might also need PVC pipe for standoffs. Choose plants like succulents, herbs, or perennials from Proven Winners.
| Tool/Material | Purpose |
|---|---|
| RYOBI 12″ Sliding Miter Saw | Precise wood cutting |
| RYOBI 18V Cordless Drill/Driver | Assembling the planter |
| Kreg Jig | Creating sturdy pocket hole joints |
| 1″x8″x8′ Common Boards | Main material for the planter |
| 1″x2″x8′ Common Boards | Trim and reinforcement |
| Waterproof Plastic | Lining the planter for water containment |
| Burlap | Lining the planter for soil retention |
| 1.5″ Kreg Pocket Hole Screws | Secure the planter’s construction |
| Wood Stain | Finishing touch for the planter |
| Garden Soil | Planting medium for your greenery |
With these tools and materials, you’re ready to make a beautiful DIY hanging wall planter. It will look great indoors or outdoors. Get ready to turn your walls into beautiful vertical gardens!
Planning Your DIY Hanging Wall Planter
Turning a blank wall into a lush vertical garden begins with planning. First, pick the right spot for your DIY hanging wall planter. Look for a wall that gets enough sunlight for your plants. South-facing walls are usually best.
Make sure the wall can hold the weight of the planter and plants. Use a stud finder to find the wall studs. Mark them with painter’s tape.
Choosing the Perfect Location
When setting up your DIY how to hang wall planters, think about location, sunlight, and plant types. A good spot can make your space look better and improve air quality.
Determining Wall Support Requirements
The weight of your how do you attach a hanging plant to the wall depends on plant size and frame materials. Sketch your frame on the wall with painter’s tape. Make sure two uprights line up with wall studs for stability.
Measuring and Layout Considerations
Measure your wall space carefully and plan your planter’s size. This helps you pick the right size and layout for your vertical garden. Use painter’s tape or markers to sketch out your design. This lets you see how it will look before you start building.
| Item | Cost |
|---|---|
| Glass vases from dollar store | $3.00 |
| Adjustable plumbing rings from hardware store | $3.00 |
| Clipboard frame with chicken wire from craft store clearance | $15.00 |
| Total cost of DIY wall planter project | $21.00 |
Good planning makes your DIY hanging wall planter both beautiful and functional. It adds a green touch to your home.
Step-by-Step Construction Guide
Building your own planter wall diy or diy air plant wall hanger is rewarding. It’s a great way to save space. With basic tools and materials, you can turn a blank wall into a lively garden. Here’s a step-by-step guide to help you make it happen.
This DIY project is easy, with a skill level of 1 out of 5. The frame costs about $250. You can finish it in 2 days, making it a perfect weekend project.
- Begin by getting your wall ready. Use a stud finder to find the studs and mark them on the siding.
- Make the rails from 1×6 pressure-treated pine boards. Cut them to the length you want.
- Place the rails on the wall, making sure they’re level and tight.
- Attach 1/2-inch lattice panels to the rails. This will support your climbing plants.
- Build the planter cleats from wood scraps. Also, make shelves for your plants.
- Drill holes in the frame for the wall studs. This is for the final step.
- Cut PVC pipe standoffs for the siding angle. This ensures a smooth fit.
- Mount the frame to the wall using screws and PVC standoffs.
- Prepare your planters by adding drainage holes if needed. Fill them with a mix of potting soil and planting mix.
- Arrange your plants. Choose ones that do well in vertical spaces and fit your local climate.
- Add a personal touch, like a custom letterboard, to your garden.
- Seal the structure with 3 coats of polyurethane. This protects it for a long time.
- Step back and admire your planter wall diy or diy air plant wall hanger!
Follow this guide to turn a blank wall into a beautiful vertical garden. Enjoy the journey and let your creativity flow!
| Material | Quantity |
|---|---|
| Pressure-treated pine | 4 pieces of 2 x 4 x 8 boards |
| Lattice panels | 1/2-inch panels |
| Galvanized steel planters | Not specified |
| Deck screws | Adequate amount |
| Structural screws | Adequate amount |
| PVC pipe | Adequate amount |
Selecting the Right Plants for Your Vertical Garden
When making a diy wall succulent planter or a macrame wall hanging planter, picking the right plants is key. Choose plants that do well in vertical spaces and fit your local climate. This ensures they grow well and look great.
Best Plants for Vertical Growing
Go for a mix of plants. Use trailing plants for a cascading look, compact perennials for steady foliage, flowering plants for color, and herbs for looks and taste. Succulents are easy to care for and perfect for vertical gardens.
Seasonal Plant Considerations
For plants that bloom all year, pick ones that flower at different times. This keeps your diy wall succulent planter or macrame wall hanging planter looking lively and colorful all seasons.
Mixing Ornamental and Edible Plants In Your Diy Hanging Wall Planter
Combining ornamental and edible plants, like herbs and flowers, makes your vertical garden both pretty and useful. It adds beauty and lets you grow your own food.
| Plant Category | Examples |
|---|---|
| Trailing Plants | Ivy, Pothos, Tradescantia, Geraniums |
| Compact Perennials | Sedum, Echeveria, Sempervivum, Lavender |
| Flowering Plants | Petunias, Marigolds, Impatiens, Fuchsias |
| Edible Plants | Herbs (Basil, Rosemary, Thyme), Strawberries, Cherry Tomatoes |
By picking a variety of plants that thrive in vertical spaces and match your style, you can make a stunning and useful diy wall succulent planter or macrame wall hanging planter. It will bring life and beauty to your space.
DIY Hanging Wall Planter Installation Tips
Adding a DIY hanging wall planter to your outdoor area is a great way to make a vertical garden. But, it’s important to install it right to keep it stable and lasting. Follow these tips to hang your how to hang an outdoor wall planter securely and enjoy a lush diy macrame wall plant hanger.
- Use a level to make sure the mounting frame is straight. This makes your garden look better and keeps it balanced.
- Put a bead of latex caulk around the beveled lip of the PVC standoffs. This seals the area, keeping the wall dry and safe.
- Spread the weight of the planters evenly on the frame. This stops any part from getting too heavy, which could cause it to sag or break.
- For climbing plants, use vinyl plant tape to tie the stems to the lattice panels. This helps the plants grow up, making your garden look amazing.
After you’ve set it up, water the plants well, especially when they’re first starting out. This helps them get used to their new home and grow strong in your how to hang an outdoor wall planter.

With these easy steps, you can confidently put up your DIY hanging wall planter. You’ll get a beautiful, space-saving vertical garden that makes your outdoor area look even better.
Proper Drainage and Watering Systems
Keeping your DIY hanging wall planter well-drained is key to its success. If it lacks drainage holes, drill some near the bottom. This lets excess water out. Also, use a potting mix that drains well to avoid waterlogging and root rot.
Creating Effective Drainage Solutions
For planters without holes, add a drainage layer at the bottom. Use gravel, pebbles, or small terracotta pieces. This helps water drain, keeping the soil and roots healthy.
Watering Techniques for Vertical Gardens
Watering vertical gardens is different from regular planters. Use a watering bulb or ampule to slowly release water. This prevents overwatering.
A drip irrigation system is great for big vertical gardens. It waters plants efficiently, saving time and water. This ensures plants get the right moisture without waste.
Watering frequency depends on plant type, climate, and sunlight. Check the soil often and water before it’s too dry. With good drainage and watering, your DIY planter will flourish!
Maintenance and Care Guidelines
Maintaining a thriving diy hanging wall plants indoor or vertical garden needs some regular care. But the benefits are worth it. Follow these easy tips to keep your hanging wall planter healthy and beautiful.
First, watch the soil moisture closely. Vertical planters dry out quicker than regular pots. So, check the soil often and water when it’s dry. Keep the soil moist but not too wet.
Pruning is key. Trim back any plants that get too big or messy. This keeps your garden looking good and prevents plants from getting too crowded. Remember, different plants need different pruning schedules.
Fertilizing your vertical garden is vital for growth. Use a balanced, water-soluble fertilizer every 4 to 6 weeks when plants are growing. Always follow the instructions on the fertilizer package.
Look out for pests or diseases and deal with them fast. Regular checks and quick action can stop small problems from getting worse.
For outdoor diy hanging wall plants indoor, watch the weather. Protect your plants from too much sun or strong winds. This might mean providing shade or moving the planter to a safer spot.
Also, check your planter’s structure now and then. Tighten any loose parts. This keeps your vertical garden safe and stable for a long time.
By following these easy care tips, you can enjoy a beautiful, easy-to-care-for diy hanging wall plants indoor or vertical garden for many years.

Creative Design Ideas and Arrangements
Make your vertical garden stand out with creative designs. Choose plant colors that match or contrast for a striking look. Group plants by care needs for easier upkeep. Try a themed garden, like an herb wall for your kitchen or succulents for a low-maintenance look.
Color Coordination Strategies For Your Diy Hanging Wall Planter
Play with colors to boost your wall planter’s look. Use complementary colors for a bold effect or stick to one color for a calm vibe. Mix textures and leaf shapes to add depth and interest.
Plant Grouping Techniques
Put plants with similar needs together for easier care. This makes gardening simpler and helps plants do well. Mix plant sizes and shapes for a lively look. Pair decorative plants with edible ones for a useful and beautiful display.
FAQ
What are the benefits of a DIY hanging wall planter?
What materials are needed for this DIY project?
How do I choose the best location for my DIY hanging wall planter?
What are the key steps in constructing the DIY hanging wall planter?
What types of plants are best for a vertical garden?
How do I ensure proper drainage and watering for my DIY hanging wall planter?
What are some tips for maintaining a thriving vertical garden?
How can I enhance the visual appeal of my DIY hanging wall planter?
Want To Learn More, Check Out These Links:
- Spruce Up a Room with These Living Wall Planter Ideas
- Vertical Gardens Are the Ideal Small-Space Solution—Here Are 11 Ideas to Get Started
- Maximizing Space: The Benefits of Vertical Gardening — Roobeez
- The Challenges and Rewards of DIY Vertical Gardening
- How To Make A DIY Wall Planter For A Kitchen Garden –
- DIY Garden Tool storage: You’ll love this easy Hanging Rail idea – Claire Douglas Styling
- DIY Beautiful Wall Planter easy and affordable
- How To Build a Living Wall Vertical Garden
- How I designed an easy DIY Outdoor Living Plant Wall
- These Vertical Garden Ideas Are Perfect for Small Spaces
- 15 Vertical Garden Ideas, From Living Walls to Botanical Libraries
- DIY Vertical Garden for Your Porch
- How To Build a Plank Wall Planter
- DIY Succulent Wall Planter (Living Picture Frame Art)
- All About Automatic Watering Systems
- Drip Irrigating for Verticals Gardens and Living Walls
- How To Create a Vertical Garden for Small Spaces
- Green Wall Pros | The Ultimate Guide to Living Green Walls
- Hanging Planters for Any Fence [with inspo pics]
- 11 Succulent Wall Ideas That Make the Most of Vertical Surfaces and Upcycled Objects

